
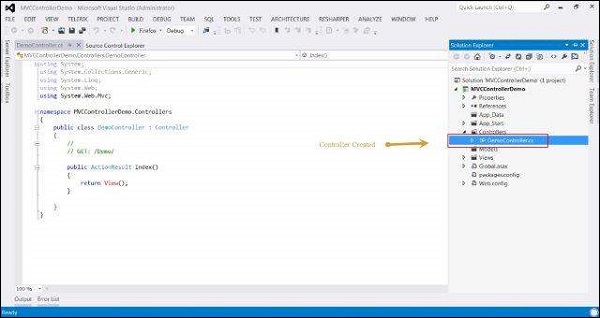
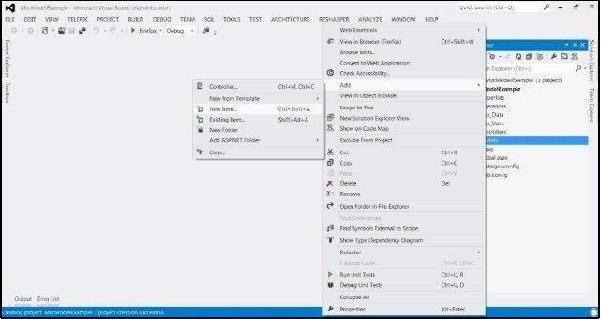
For creating a Controller, create an MVC Empty Application and then right-click on the Controller folder in your MVC application and select the menu option Add->Controller. After selection the Add Controller dialog is being displayed. Name the Controller as DemoController.
A Controller class file will be created like this:
Creating a Controller with Icontroller
In the MVC Framework, controller classes must implement the IController interface from the System.Web.Mvc namespace.
public interface IController { void Execute(RequestContext requestContext); }
This is a very simple interface. The sole method, Execute, is invoked when a request is targeted at the controller class. The MVC Framework knows which controller class has been targeted in a request by reading the value of the controller property generated by the routing data.
Add a new class file and name it as DemoCustomController. Now modify this class to inherit IController interface.
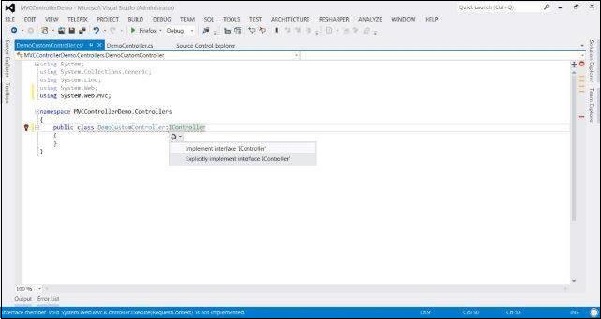
Copy the following code inside this class:
public class DemoCustomController:IController { public void Execute(System.Web.Routing.RequestContext requestContext) { var controller = (string)requestContext.RouteData.Values[“controller”]; var action = (string)requestContext.RouteData.Values[“action”]; requestContext.HttpContext.Response.Write( string.Format(“Controller: {0}, Action: {1}”, controller, action)); } }
Now when you will run the application, you will see something like this:
